How to Take Better Product Photos
*Some links below are affiliate links meaning that if you choose to click through and make a purchase, I will receive a small commission at no cost to you. . Here's how I make money.
Are you struggling with blurry, uninteresting product photos? Product photography can make or break the sale online and it’s extremely important in today’s competitive market. Are you ready to level up your product photography in order to make a brilliant first impression? Discover four simple tips and techniques for improving your photography and elevating your brand. You’ll be taking professional-level photos in no time, even with an iPhone. You can expect this to lead to more sales in your online shop or impressing your clients with your ability to make even the simplest items look elevated.
Lighting
Photography is a joint effort in creating with light. And great lighting is key in product photography. If you have an online shop try to work with the same type of lighting every time you shoot your products. Find the best window in your home to shoot next to. If you have glass doors you can set up your backdrop on the floor next to the door. For a window create your set-up on a table in the window light. Make sure your light is even and there are no shadows. This may mean waiting for a specific time of day. Take a few test shots in the same spot throughout the day to discover which time is best. If you’re shooting outdoors use the shade of a building or another location with even shade.
If you can’t find sufficient natural light consider investing in softbox lights or a light box.
Use the right equipment and camera settings
There is no doubt that being intentional with the camera and lenses you use will take your photography to the next level. You may want to upgrade to a DSLR camera with interchangeable lenses. A DSLR has the ability to capture more light than a phone camera.
A common mistake new photographers make is getting too close to the object. This makes the object look blurry because your camera is too close to properly focus. A macro lens allows you to get closer to the object and capture more detail. This is especially helpful when photographing small items such as jewelry.
Another way to highlight your product is by using a shallow depth of field. This is where your subject is in focus and the background looks blurry. Your aperture setting controls this. Setting the aperture on your camera anywhere from 1.4 - 2.8 will help your subject to stand out. A higher-quality prime lens allows you the greatest range in depth of field while maintaining sharp focus.
Styling
Styling is the icing on the cake when it comes to product photography. Choose elements that compliment your items and brand style. Stick with a consistent theme and consider the following details:
Colors: decide on an overall color scheme that compliments your items.
Background: Using one or two backgrounds will create a unified look if you have an online shop. Art stores sell a variety of large sheets of colored paper or foam board that make great low-cost backdrops.
Props add dimension and visual interest to an image. Make sure your props fit your overall color scheme. They should compliment your products, not distract from them. Your product should be the focal point. Props can also be used to highlight a product for its intended use or convey a mood.
Putting it all together with Layering
When setting up your product shot, use 3-5 layers to gives your images visual interest.
What do I mean by layers?
The formula I use looks something like this:
Backdrop 1+ Backdrop 2 (optional) + Tray (not always an actual tray, just serves as one) + Product + Assisting Props (to reinforce a mood, feeling, theme, or a secondary product...optional)
Example 1:
Backdrop 1= Plain White Background
Backdrop 2= N/A
Tray = Vinyl Record Cover
Product= 3 beauty products
Assisting Props= Sunglasses
Example 2:
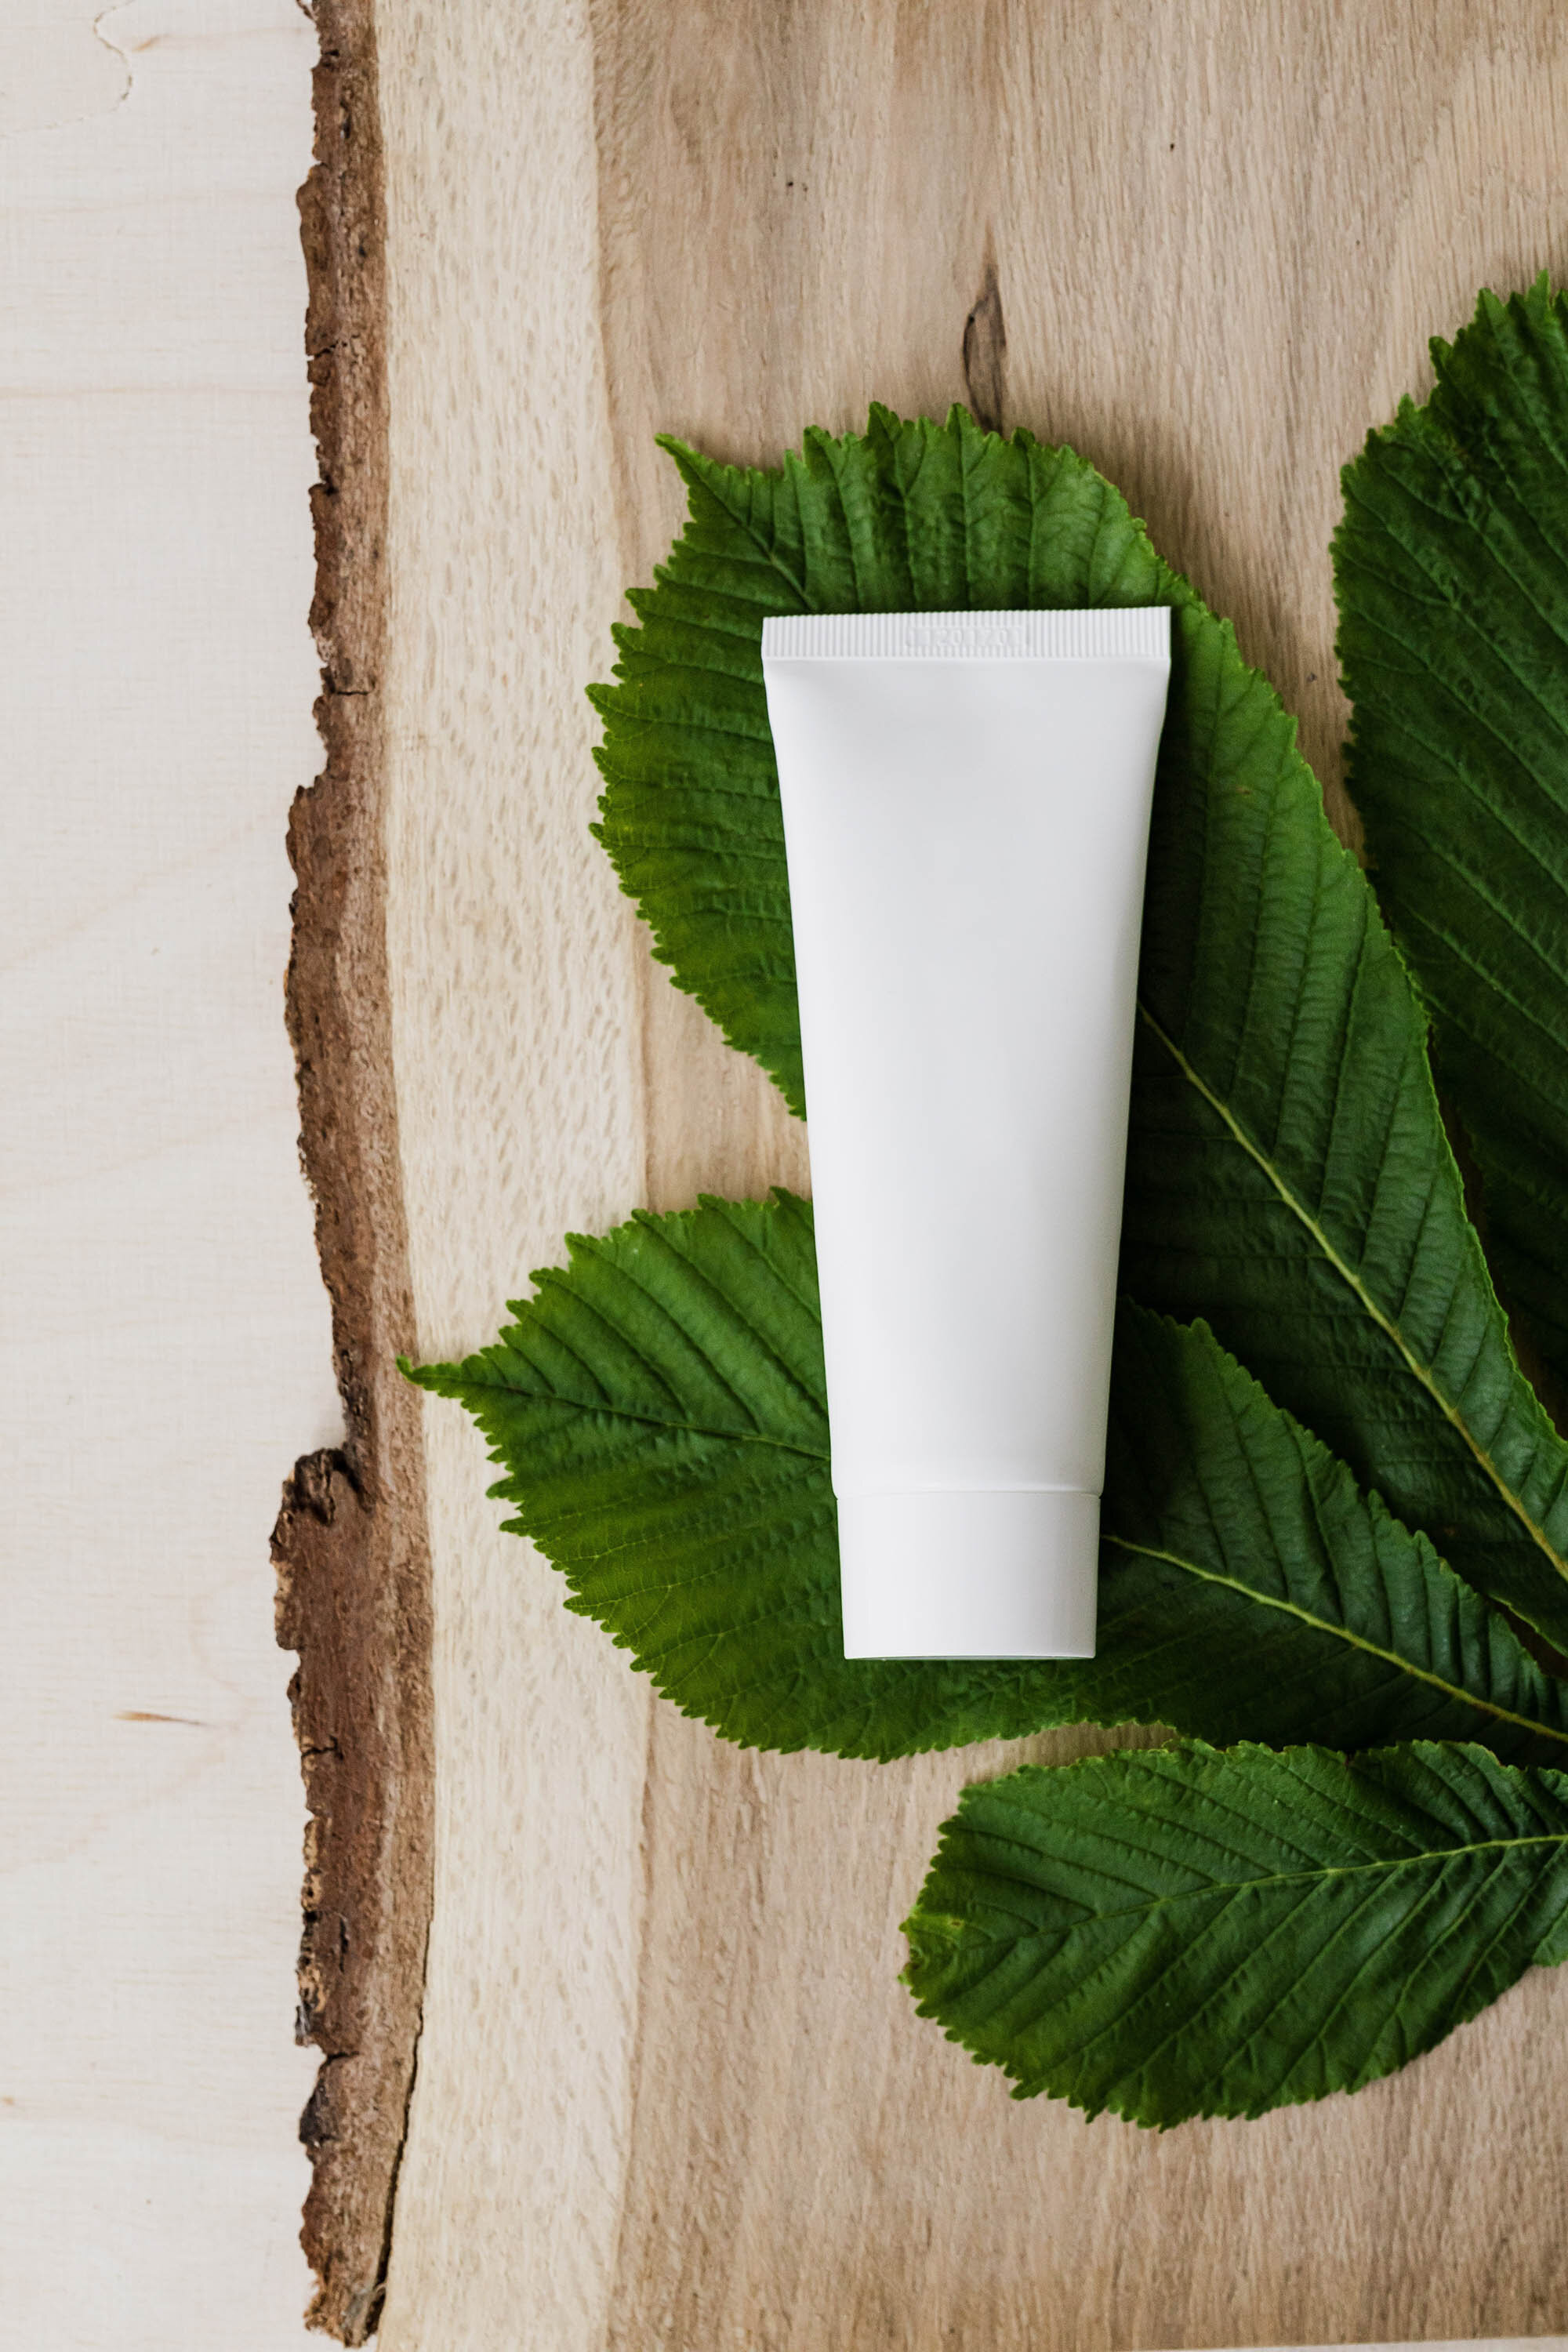
Backdrop 1= Light Wood Background
Backdrop 2= Wood Board with raw edge
Tray = Leaves
Product= Bottle
Assisting Props= N/A
Example 3:
Backdrop 1= Cream Background
Backdrop 2= Towels
Tray= Wood Plate
Product= Soap
Assisting Props= Brush
See how layering made these images more interesting than being photographed on a solid colored backdrop?
Now that you know the basics of taking eye-catching product photos, you should feel ready to start planning your next product photography shoot! Just by implementing these four simple techniques for improving you’re on your way to elevating your brand. Be sure to take note of how stepping-up your product photography leads to more sales.
If you’re looking to up your stock photo game even more, check out my Photo to Profit guide! It’s got even more tips & tricks to turn your product pics into photos you can sell forever and ever.


